Make Your Own Homemade Kite!
For as far back as I can remember, my brother and I have always enjoyed spending time with our grandparents. From the time we were just babies, they always loved to have us come visit them, and we loved to go. Before I could even talk, I would often go to our front door, squeeze my little fingers into the crack, and look imploringly at Mom and Dad, while making "Whoo-whoo" sounds—indicating that I wanted to go over to Grandma and Grandpa's house and play with the electric train!
Over the years, "going to Grandma and Grandpa's house" was always a special weekly treat. As we grew up, the electric train was replaced with other special projects and activities, of which Grandma and Grandpa seemed to have an endless supply. Grandpa is the "handiest" man I've ever known, so, in addition to visiting historical sites, going on hikes, and the occasional fishing trips, we often built and made things of our own. We built toolboxes, fixed bikes, forged screwdrivers - and made kites.
The latter project is one that will always stand out in my mind. Somewhere over at Grandma and Grandpa's house, there are still two homemade kites—childishly decorated, patched and repatched, well-used, and full of fond memories.
Today, it's rare to find a homemade kite. With the plastic store models so prevalent, the homemade kite has just about gone the way of tin soldiers and rag dolls. But, a homemade kite can provide special memories and experiences that a store-bought kite can't. So, in this week's resources project, we'll go through instructions for making homemade kites!
Tools and Supplies
· Large sheets of colorful tissue paper
· Some old rags, preferably brightly-colored. Old sheets and pillow-cases work well.
· Glue
· Roll of kite string (one for each kite you want to make)
· Scissors
· Measuring tape or yardstick
· Saw
You'll also need two sticks for each kite you want to make. One stick should be about 36 inches long, and the other should be about 24 inches long. If you have a table-saw and "fence," it works well to cut pieces of pine one-by-two's into strips about 3/8" wide and 1/8" thick. Try to avoid using sticks with knots in them - these tend to break under stress. If you don't have a table-saw, the lumberyard where you buy your boards may be able to cut the wood for you Otherwise, you could use dowels about 1/8" diameter, or even strips cut from a stiff yardstick.
To begin, lay your two sticks down on the floor so they make a cross. The center of the short stick should be positioned about one third of the way down from one end of the long stick. You may want to use a razorblade to notch the sticks just enough to help keep them in place. (Kids, get help from your parents for this step.) If you notch the sticks, don't do it too deeply or they may break under stress.
Cut a piece of your kite string, and use it to tie the two sticks together. Use a criss-cross pattern with the string to prevent slipping or "tilting" of the sticks. Wrap the string as tightly as you can, and be sure to tie a good knot when you're finished. Use enough string so that the sticks are tied together securely, but not so much that the fastening gets bulky.
Now, using a saw or razorblade, cut a notch in each end of both sticks. (Adults should supervise this step.) Make the notches about 1/8" deep, and just wide enough so a piece of kite string will slip in.
When you're done cutting the notches, take one end of your kite string and tie it tightly around the end of the top stick, just below the bottom of the notch. Run the string through that notch, then through the other three notches. At each notch, wrap the string around the stick once or twice. When you get back to the top notch, wrap the string tightly around the stick again and tie it securely. Cut off the excess string.
Now, cut another piece of string about 24 inches long. Tie one end of this string tightly around one end of the short stick. In the other end of the string, tie a loop. Slightly flex the short stick and slip the loop into the notch at the other end. The string should hold the short stick in a gentle arc. There should be about two inches of space between the string and the cross-section of the sticks. If you don't have that much space, you will need to shorten the string a little bit. Leave this string attached for now. You'll normally want to unfasten this string when you're not flying your kite, but attaching the paper (explained below) without this string fastened will probably result in tearing your kite before it ever gets off the ground!
Now it's time to put the covering on your kite. This can be almost any lightweight paper. We used tissue paper on our kites; Grandpa tells me that when he was a boy, he made kites with anything from brown paper bags to tissue paper. The lighter the paper, the better your kite will fly. However, lighter paper tears more easily in strong winds or if the kite happens to crash.
Whatever kind of paper you decide to use, lay out a large piece on a hard floor or work surface. The piece of paper should be large enough so that it exceeds the dimensions of your kite skeleton by about an inch on each side. You may need to glue pieces of paper together to get a piece big enough. Cut the paper into a diamond shape, being sure to maintain an inch extra all around the edges. When you're finished, cut off the corners of the paper so that there will be about half or three-quarters of an inch of bare wood at each end of each stick.
One side at a time, run a neat bead of glue along the far edge of the paper. Fold that side up, over the string, and glue it down to the paper on the other side. Do this for each of the four sides of the paper diamond. Let your glue dry before going on.
Once your glue is dry, take another piece of string about 48 inches long, stand your kite on one end with the arc facing away from you, and tie the string securely to each end of the long stick of your kite skeleton. This is your kite's "keel," and it helps provide extra stability for your kite. When you're ready to fly your kite, you'll tie your string to the keel.
Now you'll need to fasten on your kite's tail. The tail is basically an anchor to keep the kite right-side-up in the air. The tail needs to be just heavy enough to do its job. The best-looking tail can be made from a narrow strip of bright cloth, three or four feet long, with short strips of cloth tied across it in intervals. You'll probably need to experiment a bit to get the right length and weight.
If you're using a long strip of cloth for the tail, use a piece of kite string to tie the cloth onto the bottom of your kite's skeleton. If you don't have a piece of cloth long enough for this, tie a piece of string about four feet long to the bottom of the kite, and fasten shorter pieces of cloth to it in intervals.
Now it's time for one very important step: fastening your roll of kite string to the reel! It's extremely easy to let your kite get all the way up to the end of the string, and the last bit of string can slip through your fingers before you know it - just read this issue's Editorial! So, before you fly your kite, unwind the entire roll, tie the end of the string tightly to the reel, then wind it up again. Now, as long as you hang on to the reel, and as long as the string doesn't break, your kite can't get away from you.
Finally, tie the end of your kite string to the keel, about even with the cross of the kite skeleton. You may need to tie a loop in the keel at the proper point, then tie the kite string in the loop, to eliminate slipping. You may want to secure your knot with glue or tape to lessen the possibility of the strings wearing one another out and breaking at this high-stress area.
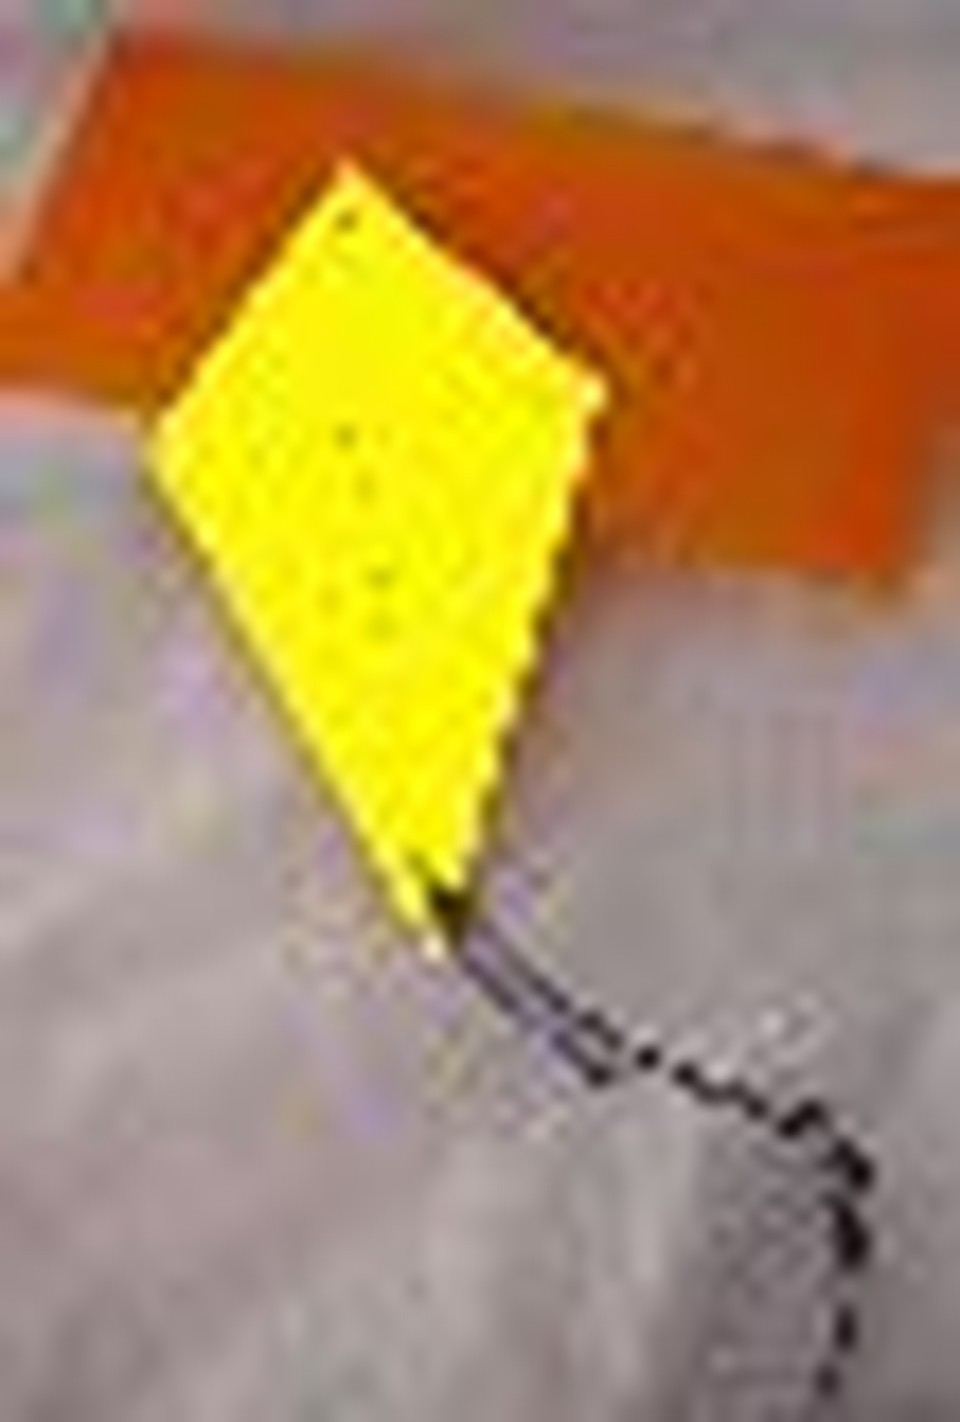
Now, just wait for a clear day and head out into the breezes! Find a place where you can fly your kite away from trees and power lines, and, of course, out of the flight-paths of any nearby airports! Unreel some string and run into the wind with your kite trailing behind (see this issue's cover picture). When your kite is flying on it's own you can stop running, gently let out more string, and watch it climb into the skies!
Most homemade kites, if carefully made, will fly on the first try. However, in order to get the best performance from your kite, you may need to experiment a bit. Possible adjustments would be the arc in the cross-stick of the skeleton, the length of the keel, the point on the keel where the string is attached, and the length and weight of the tail. With some care and experimentation, you should have a kite that will fly high and well, with far less dives to the ground than many store-bought models.
And, if your kite does happen to get damaged, it's easy to repair. Just glue a patch of paper over the tear, and it's as good as new!
Happy kiting!
-----------------
Matthew Lewis is a homeschool graduate. In 2002, along with his family, he helped found Home School Enrichment, Inc. He currently manages the company website, https://HomeSchoolEnrichment.com.
This article was originally published in the Mar/Apr '05 issue of Home School Enrichment Magazine. For more information, visit https://HomeSchoolEnrichment.com
Originally published January 03, 2007.